Hi there! I hope you’re as excited about your conversion project as I am. Just a heads up, I’m not a professional writer, but I’m leveraging the power of AI to assist me. Together, we aim to create a more reader-friendly post that effectively conveys the details of how and why we built this campervan. Some of the topics I’ll cover include insulation, framing, electrical work, plumbing, and our secret tips. Also, please keep in mind that I’m not a professional builder or woodworker. However, after hours of research and “YouTube academy” sessions, we’ve ensured that everything is certified by professionals (electricity, propan and the whole conversion)
This topic will revolve around the van’s preparation, insulation, and floor prep. Our van came with a lot of items that weren’t useful for our build, such as aluminum rails, a partial cargo wall, numerous wooden inserts, and protective sheets. We discarded most of these things and began the cleaning process. This might not be the most exciting task, but it’s good practice to carefully examine any spots that seem prone to corrosion. We brushed these areas and applied a thick layer of anti-corrosive paint. This step provides peace of mind when you’re about to start your water pump for the first time. Following that, we moved on to preparing our flooring.
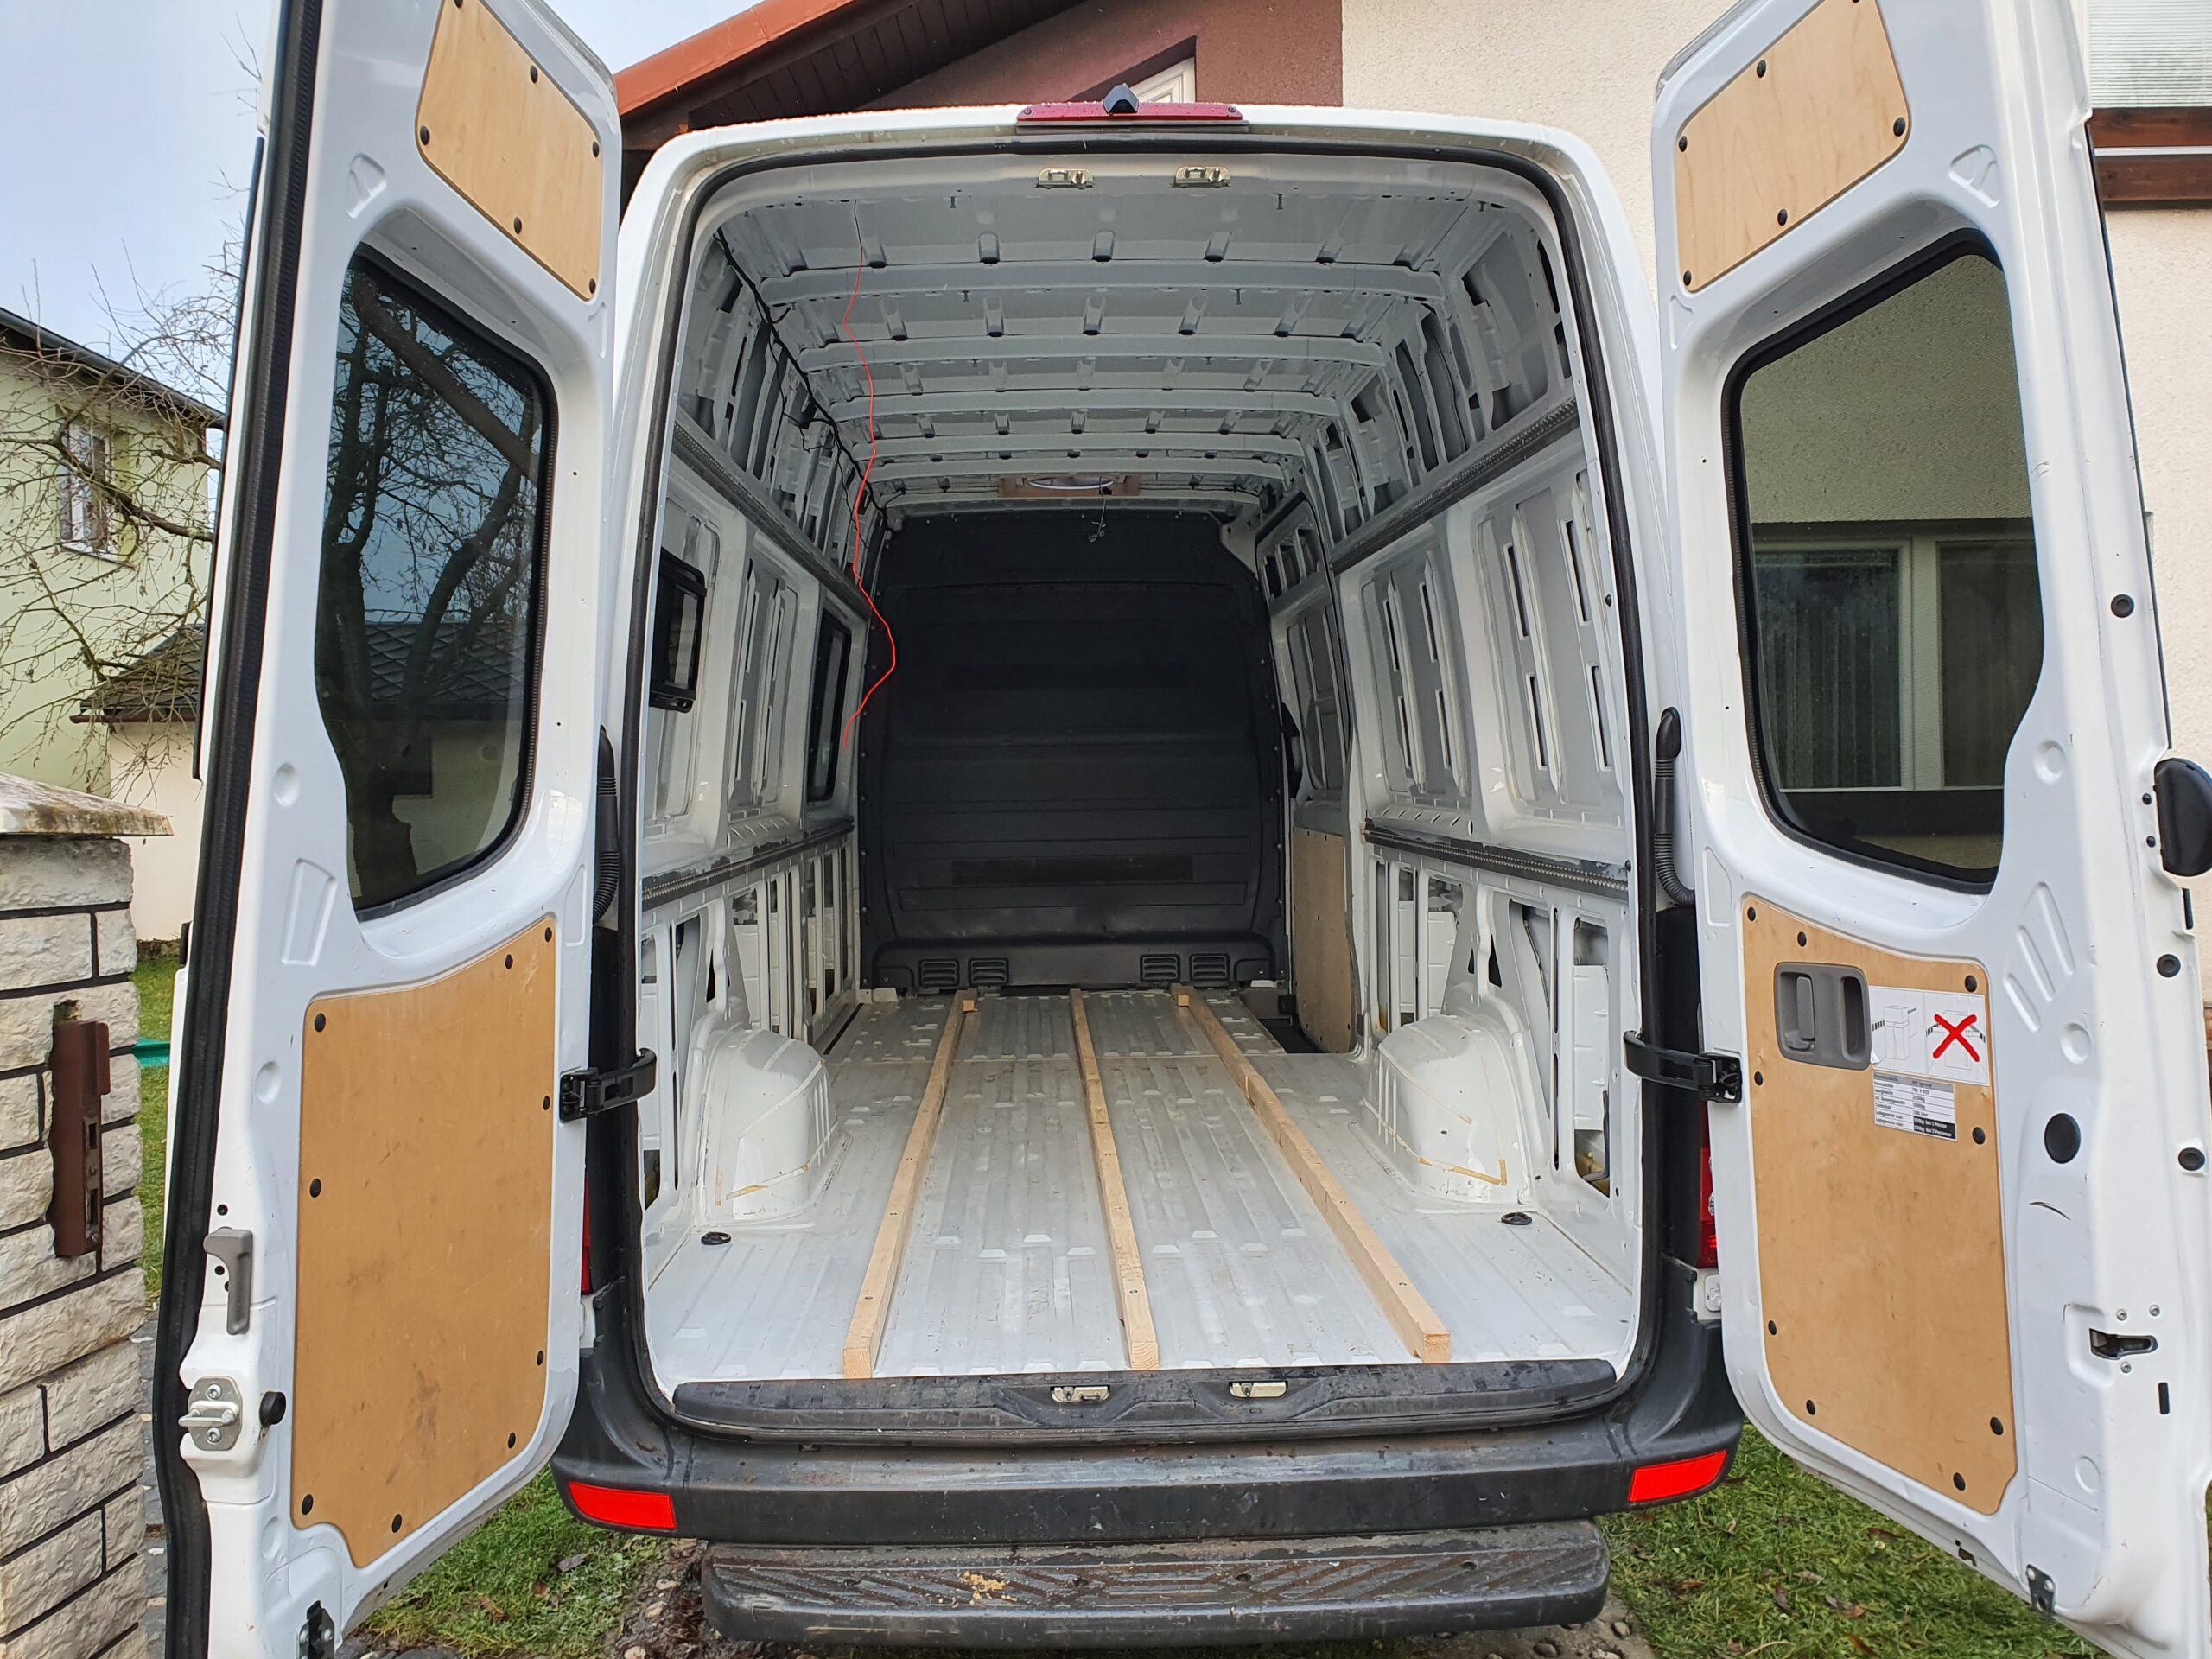
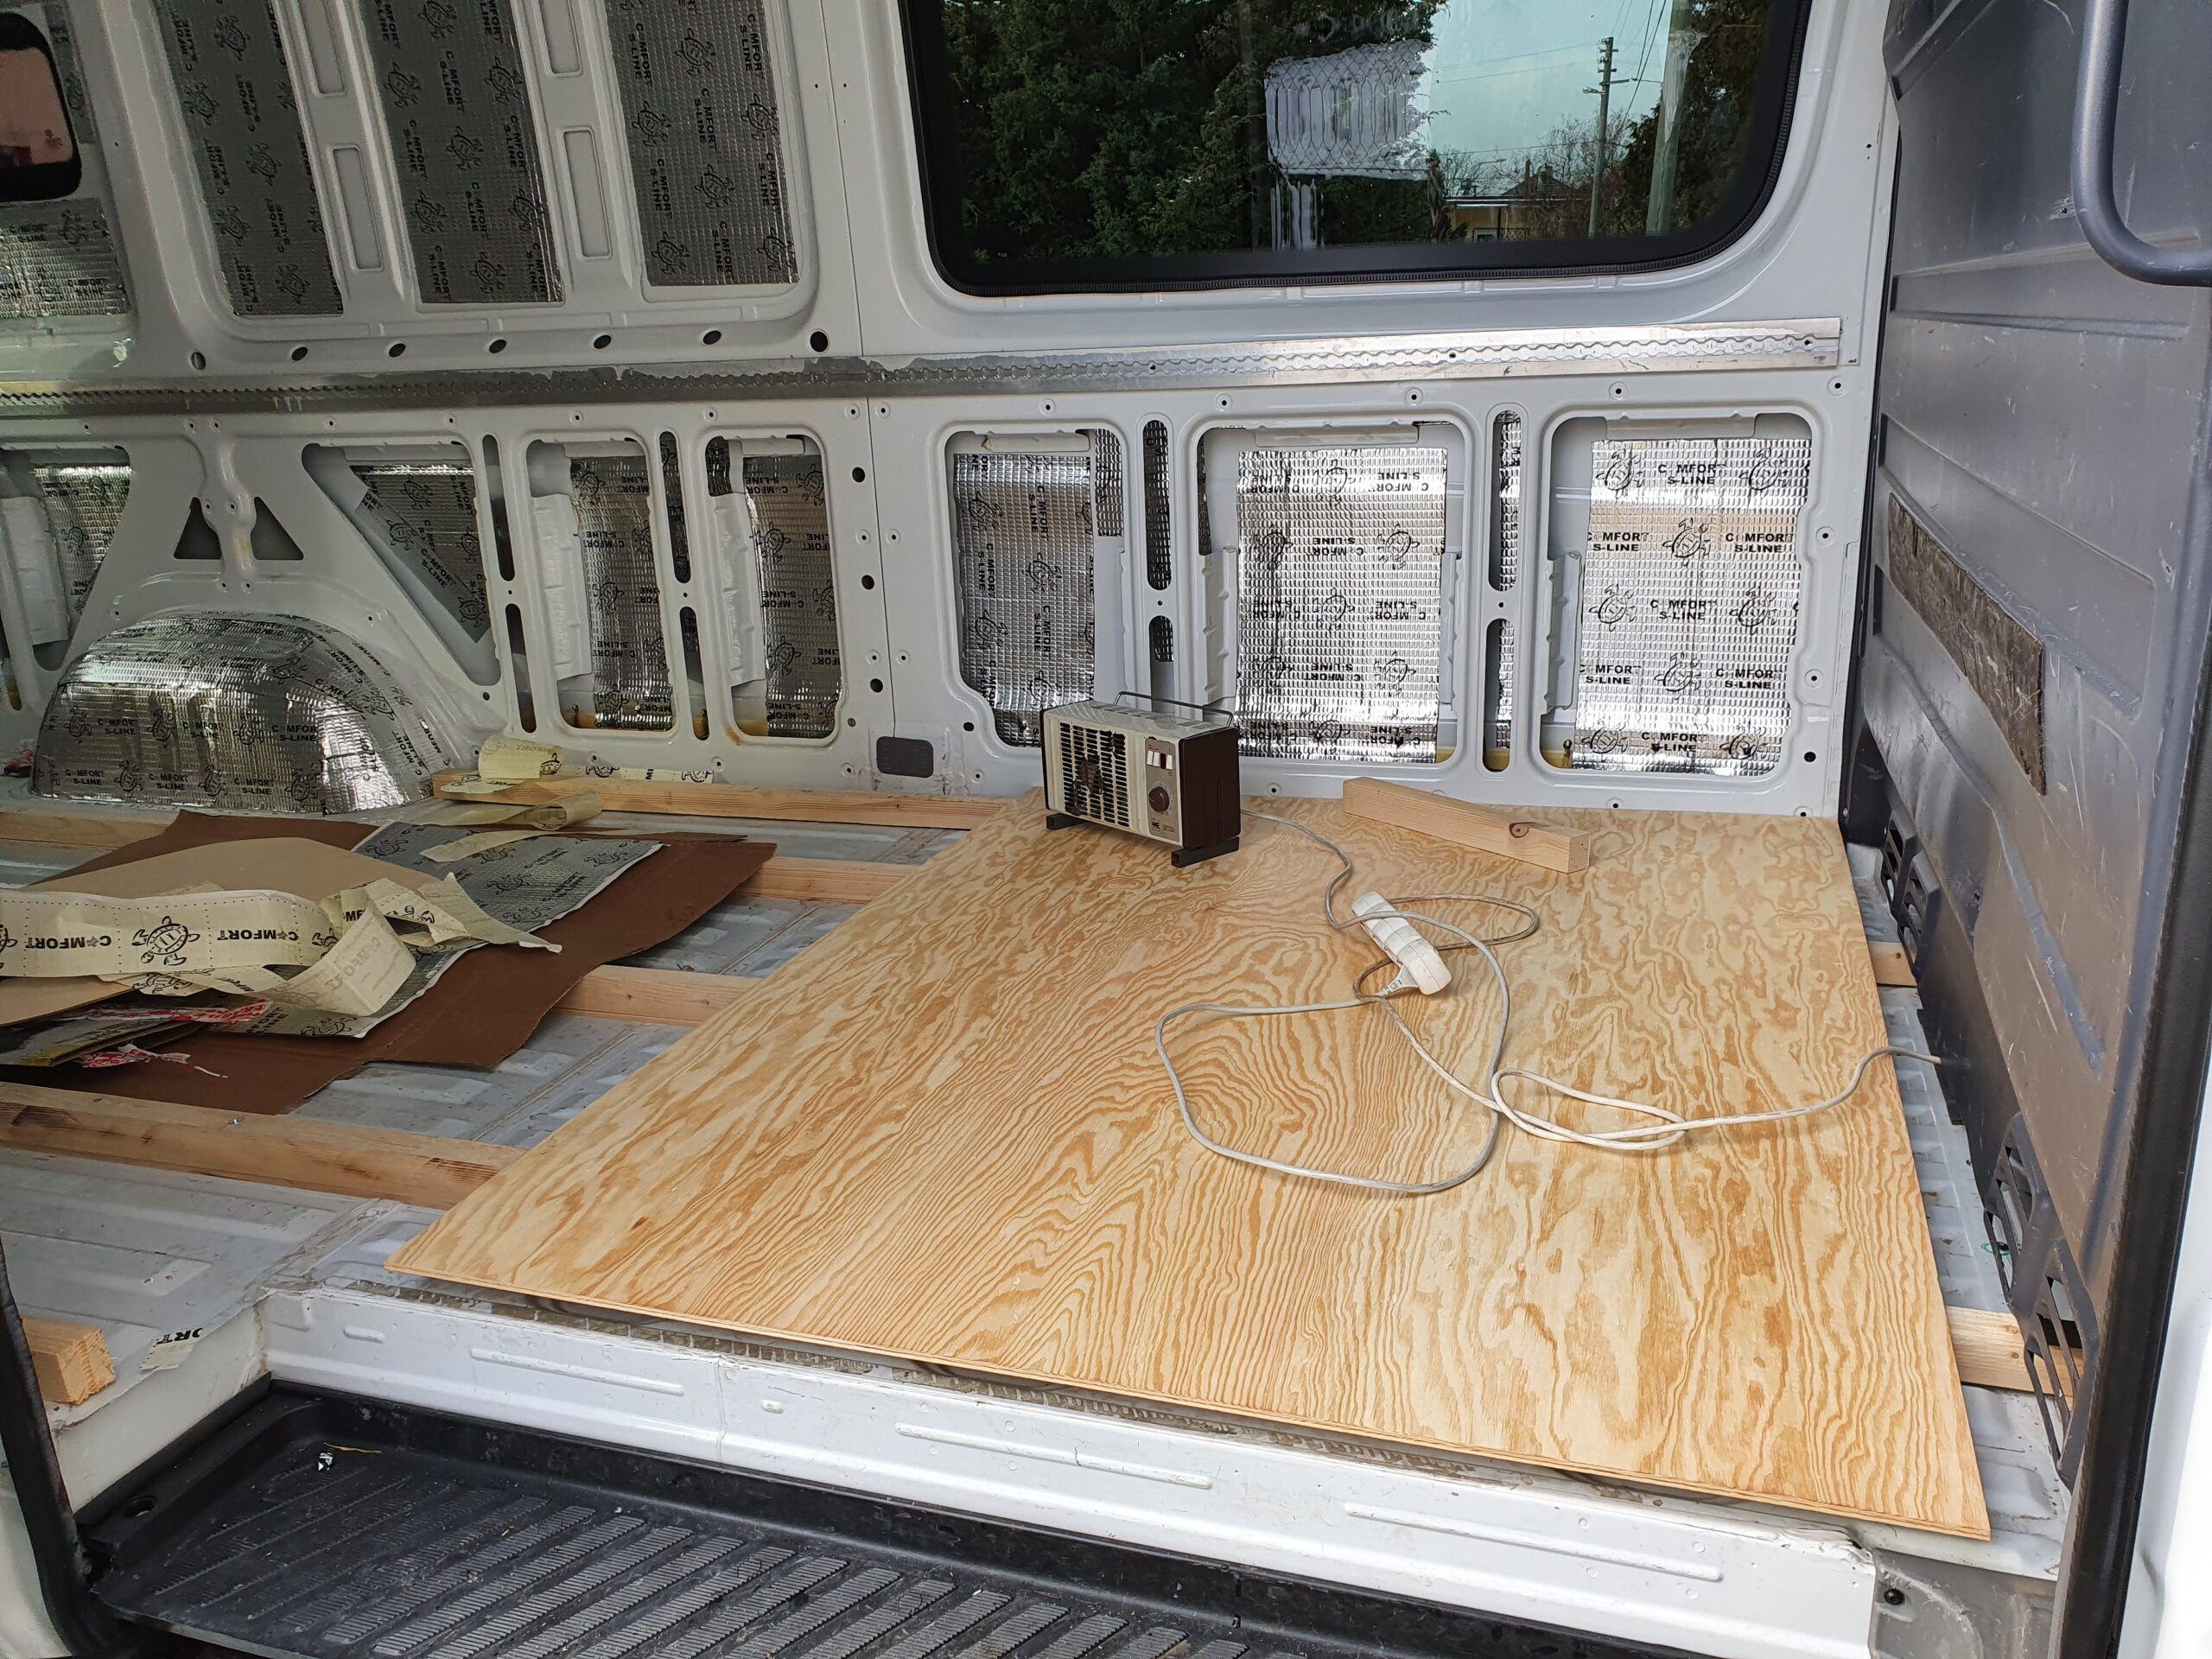
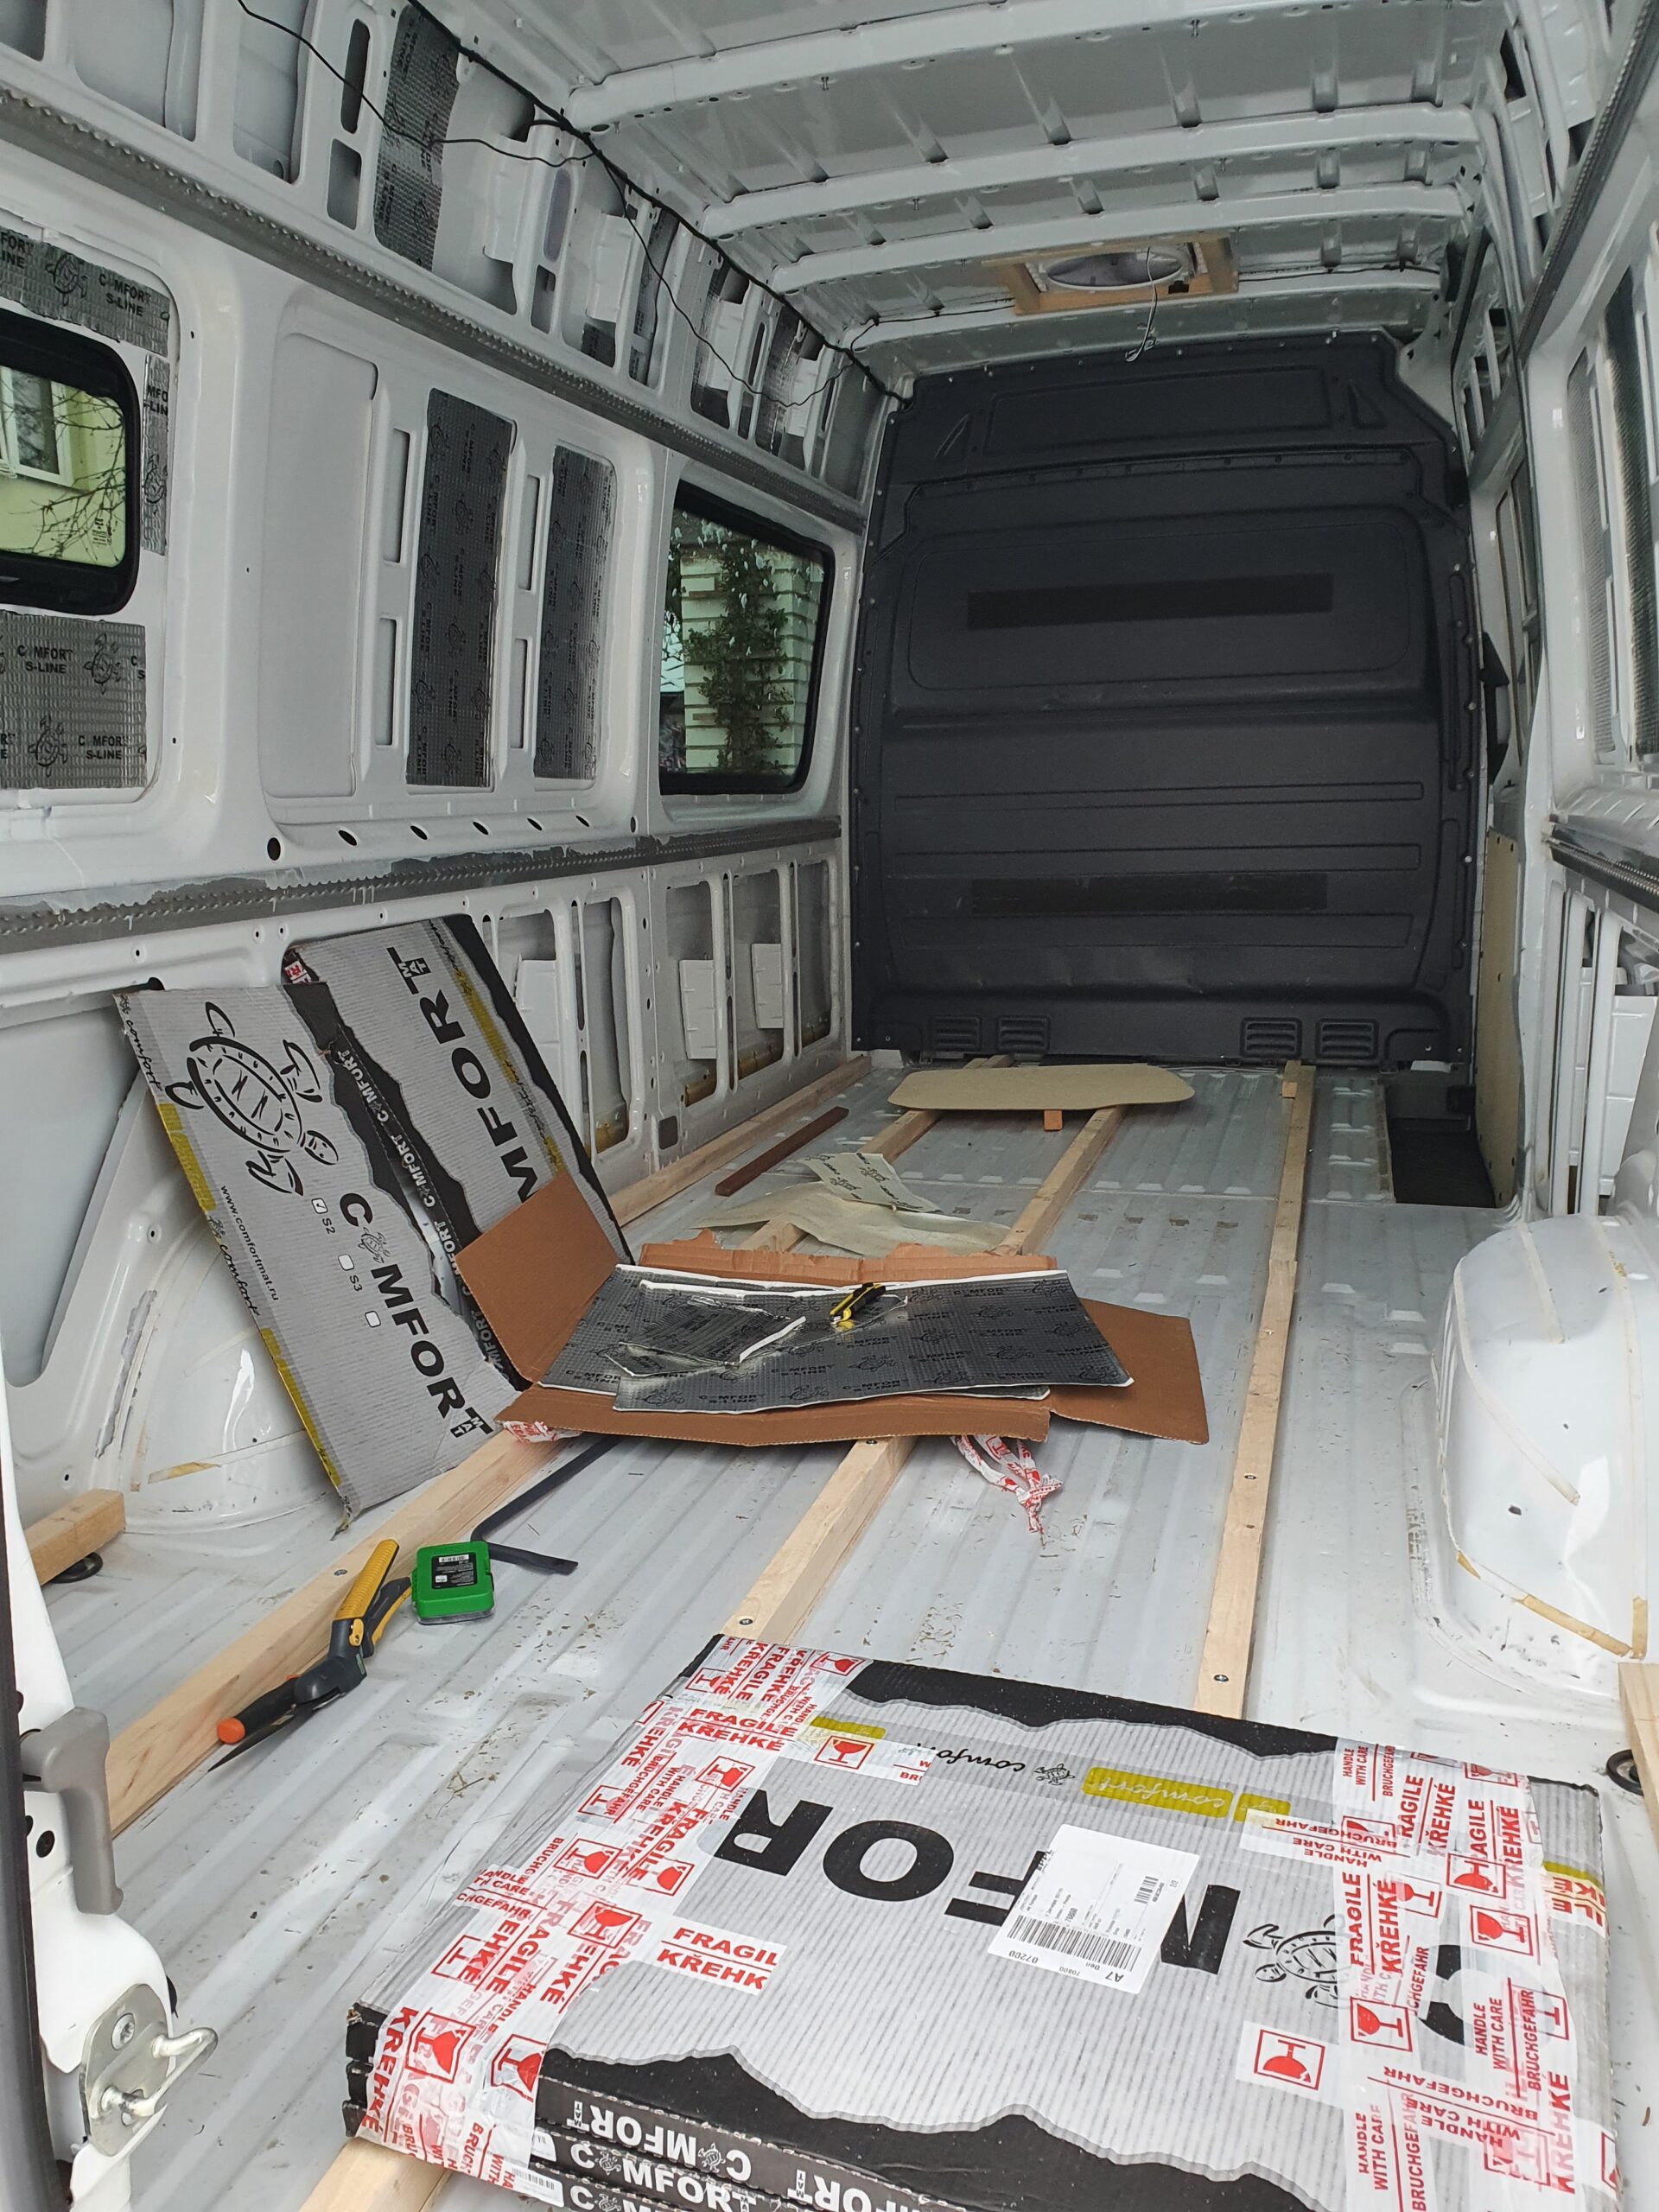
For the floor, we opted for 60×40 timber as the mainframe, with insulation boards placed between. On top we put a 9mm thick plywood sheet. I secured the main timber slats using M8 rivet nuts with bolts, and the sheets with screws. Additionally, I coated all the wood with a thick layer of varnish to safeguard it. For my next build, I intend to integrate channels in the floor for pipes or cables. It’s wise to have a rough idea of the layout, so you can plan ahead for these conduits. This note is also for my future self – incorporating such channels could save you a lot of trouble later when you’re figuring out the best paths for wires. (As a side note, I had to cut slots for wires and pipes in our aluminum construction.)
I had a vision for how I wanted the build to appear. So, I took measurements and created a 3D model. We even visualized the setup on a real scale by using masking tape on the floor. (Keep in mind that the van is wider in the lower third of its height – this is easy to overlook.) You can find a link to our model here.
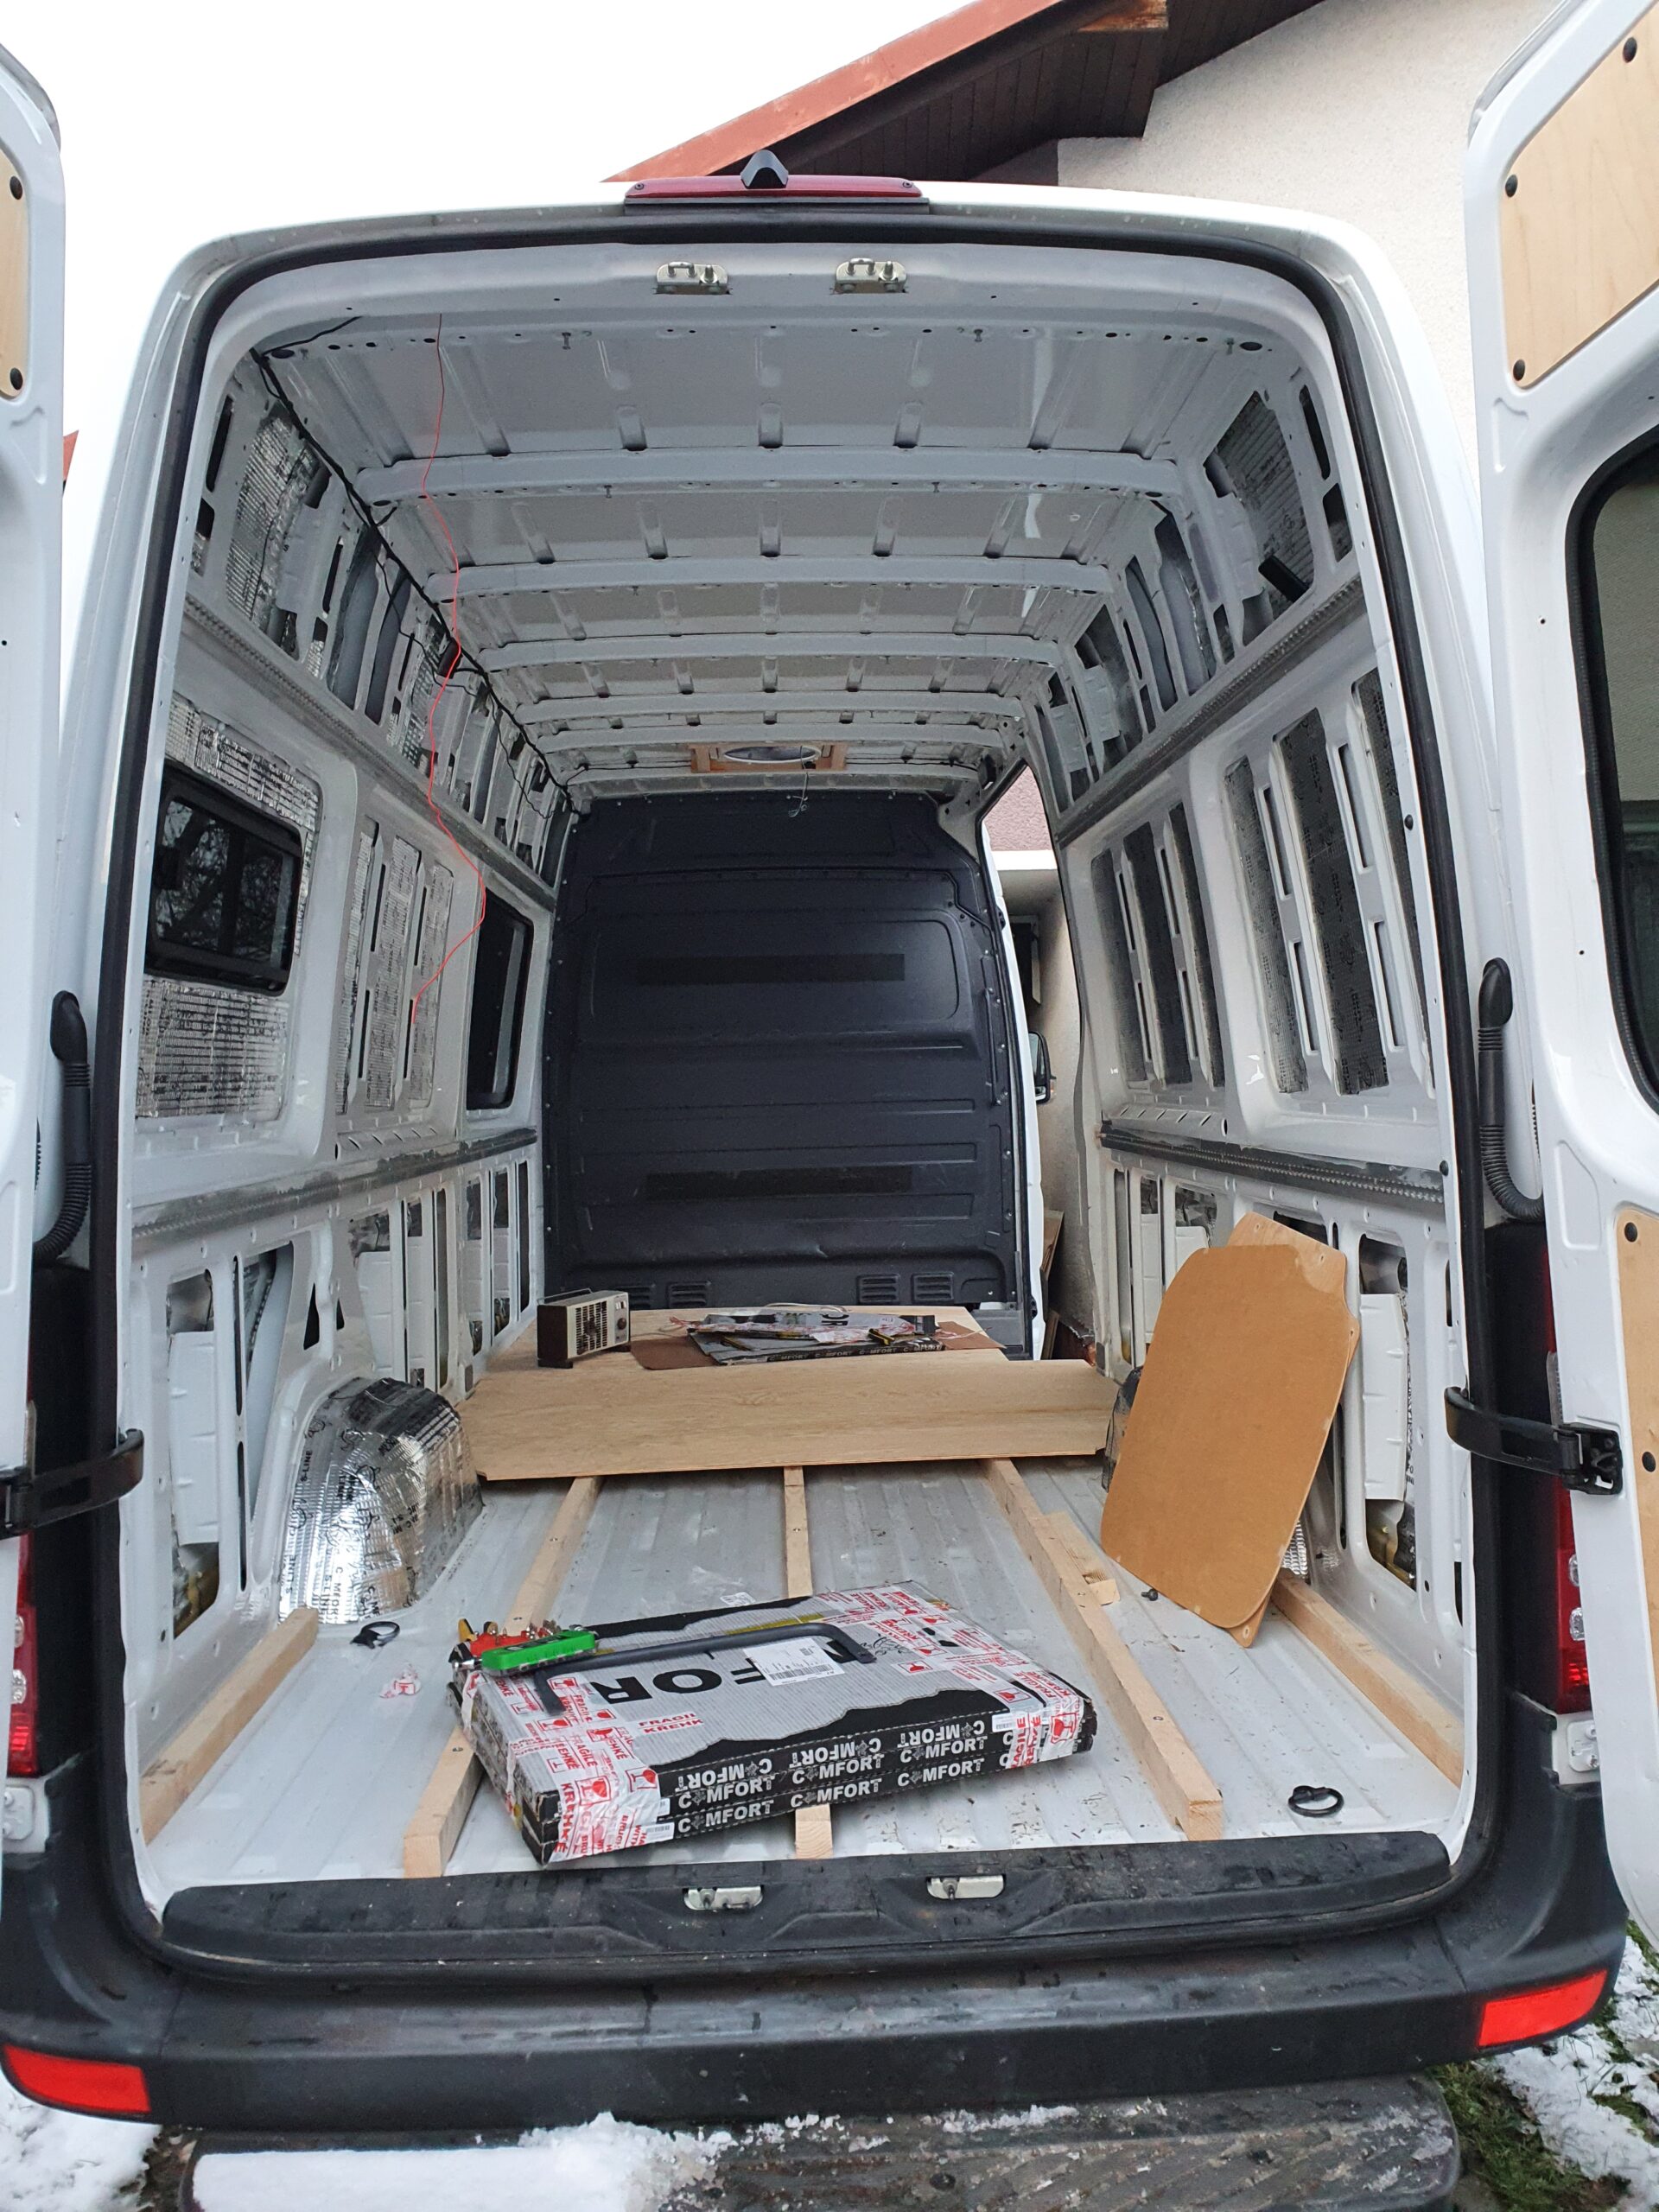
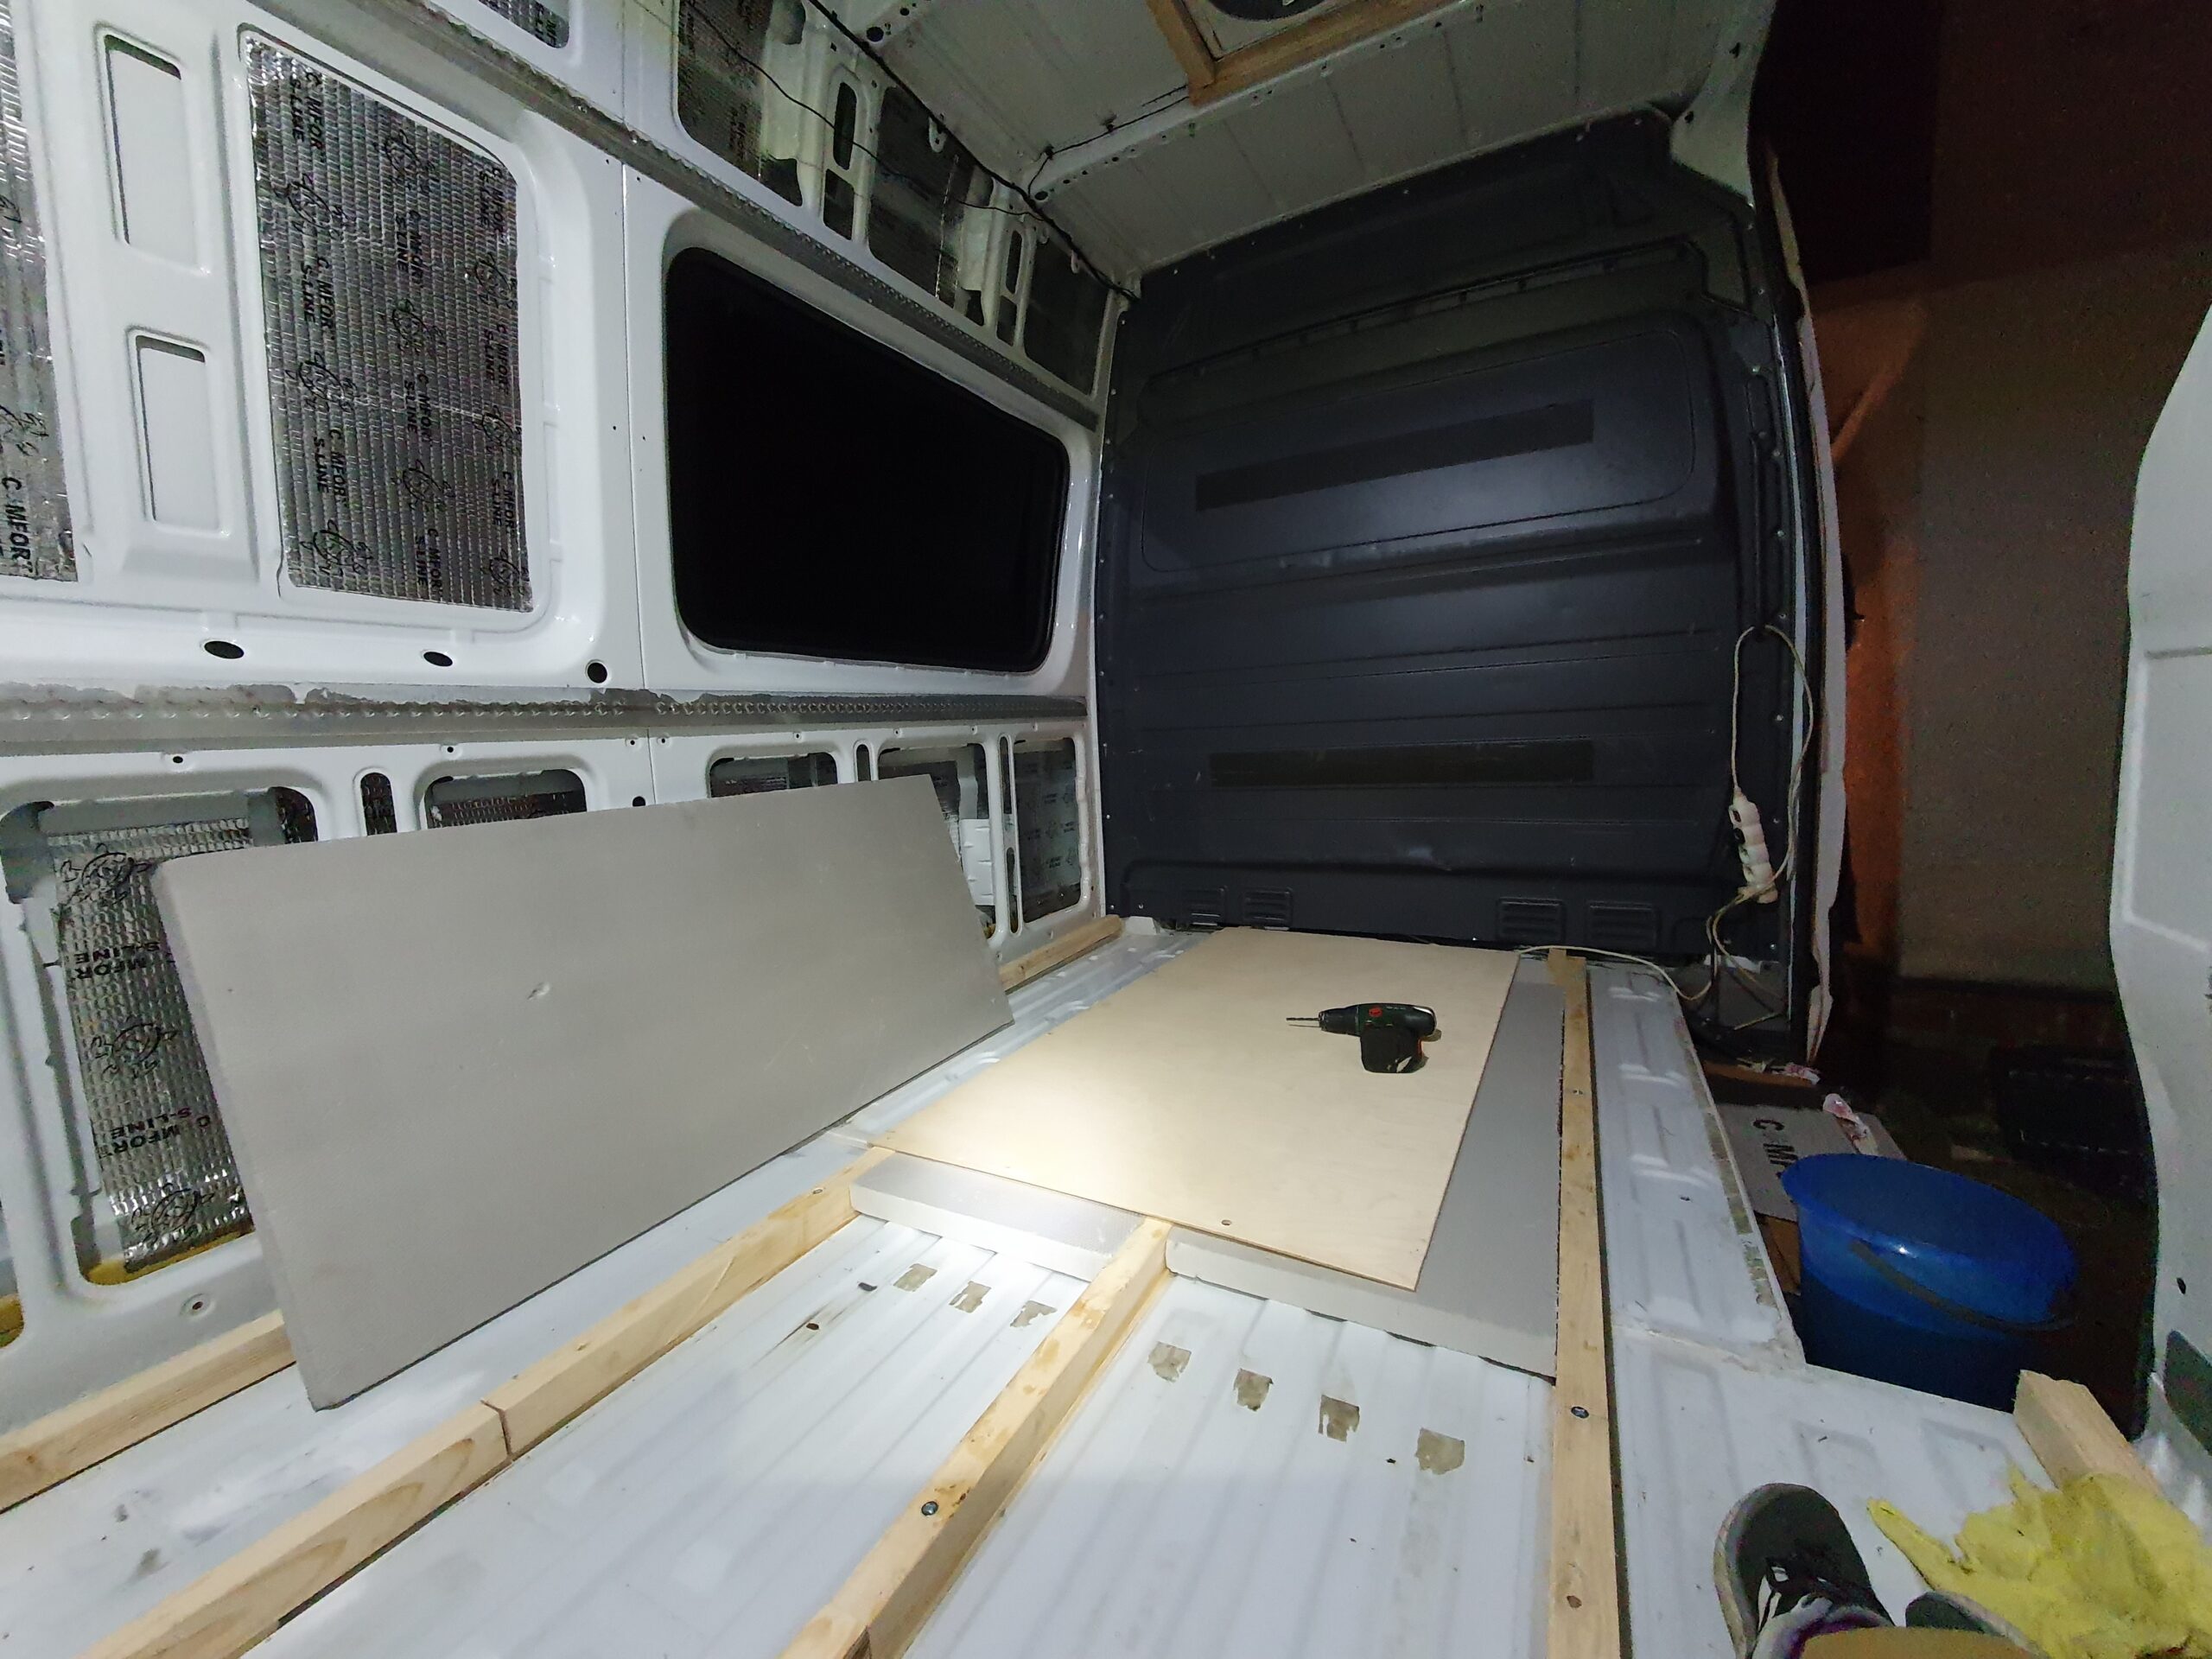
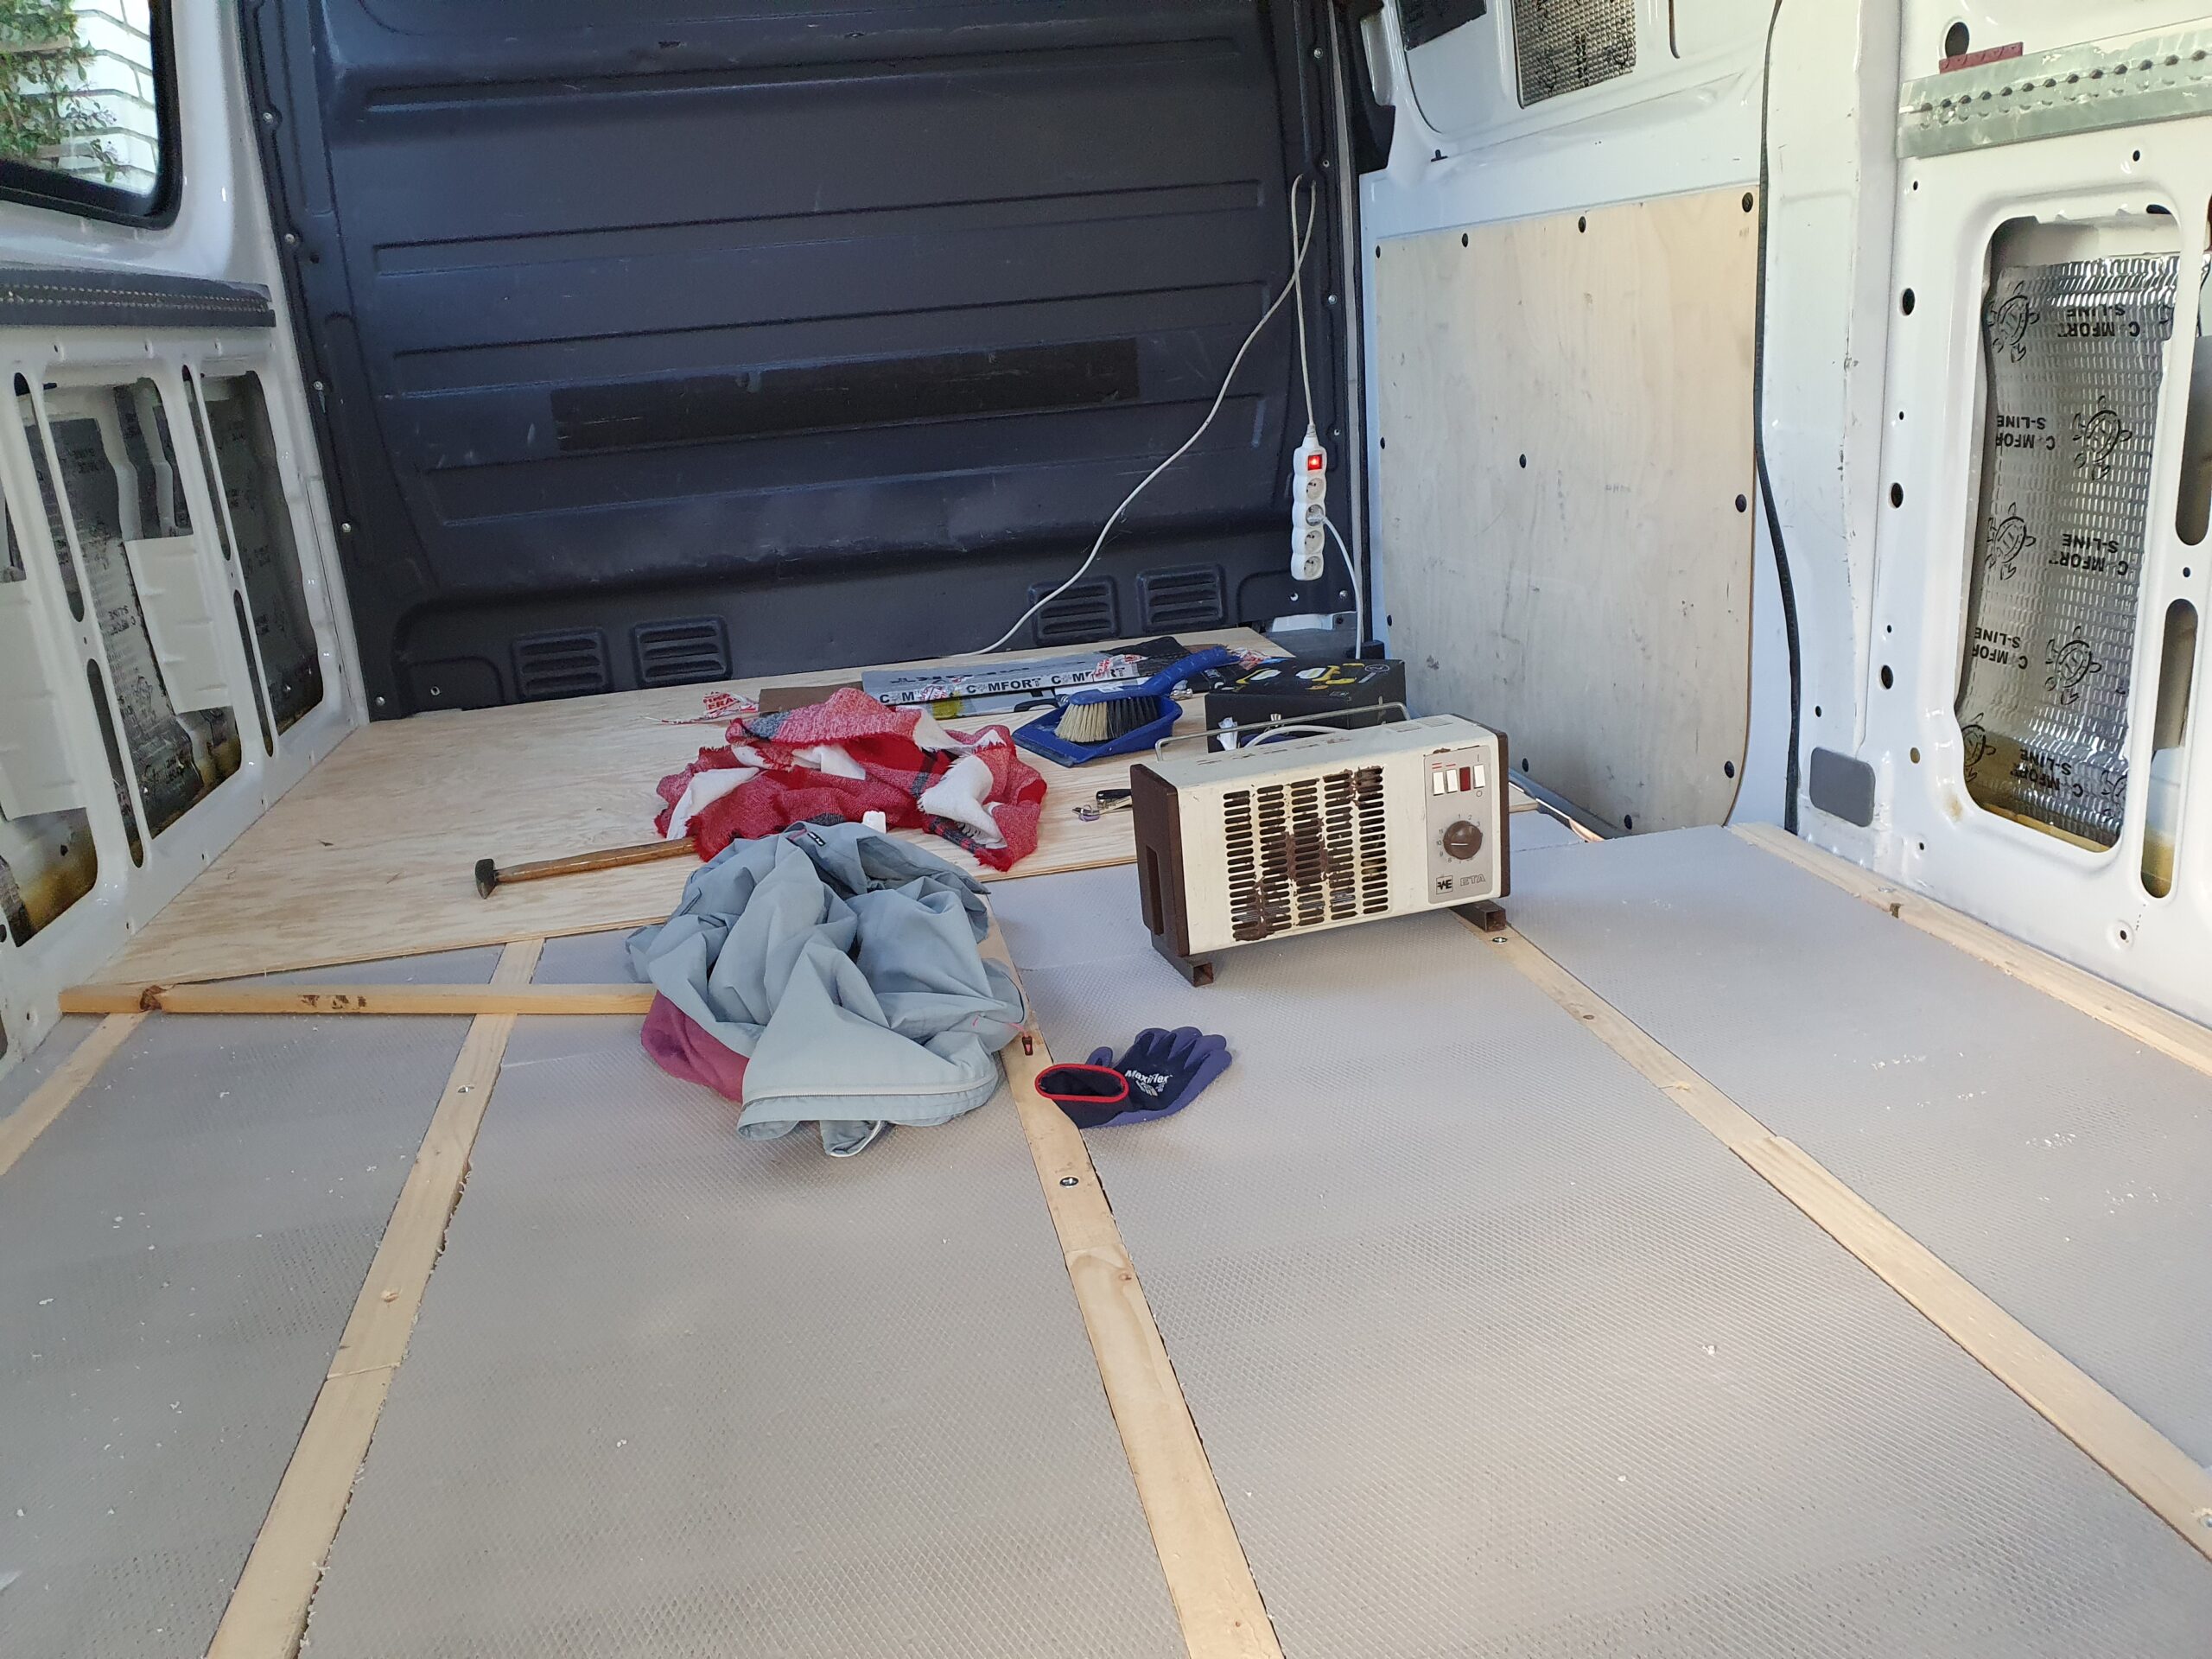
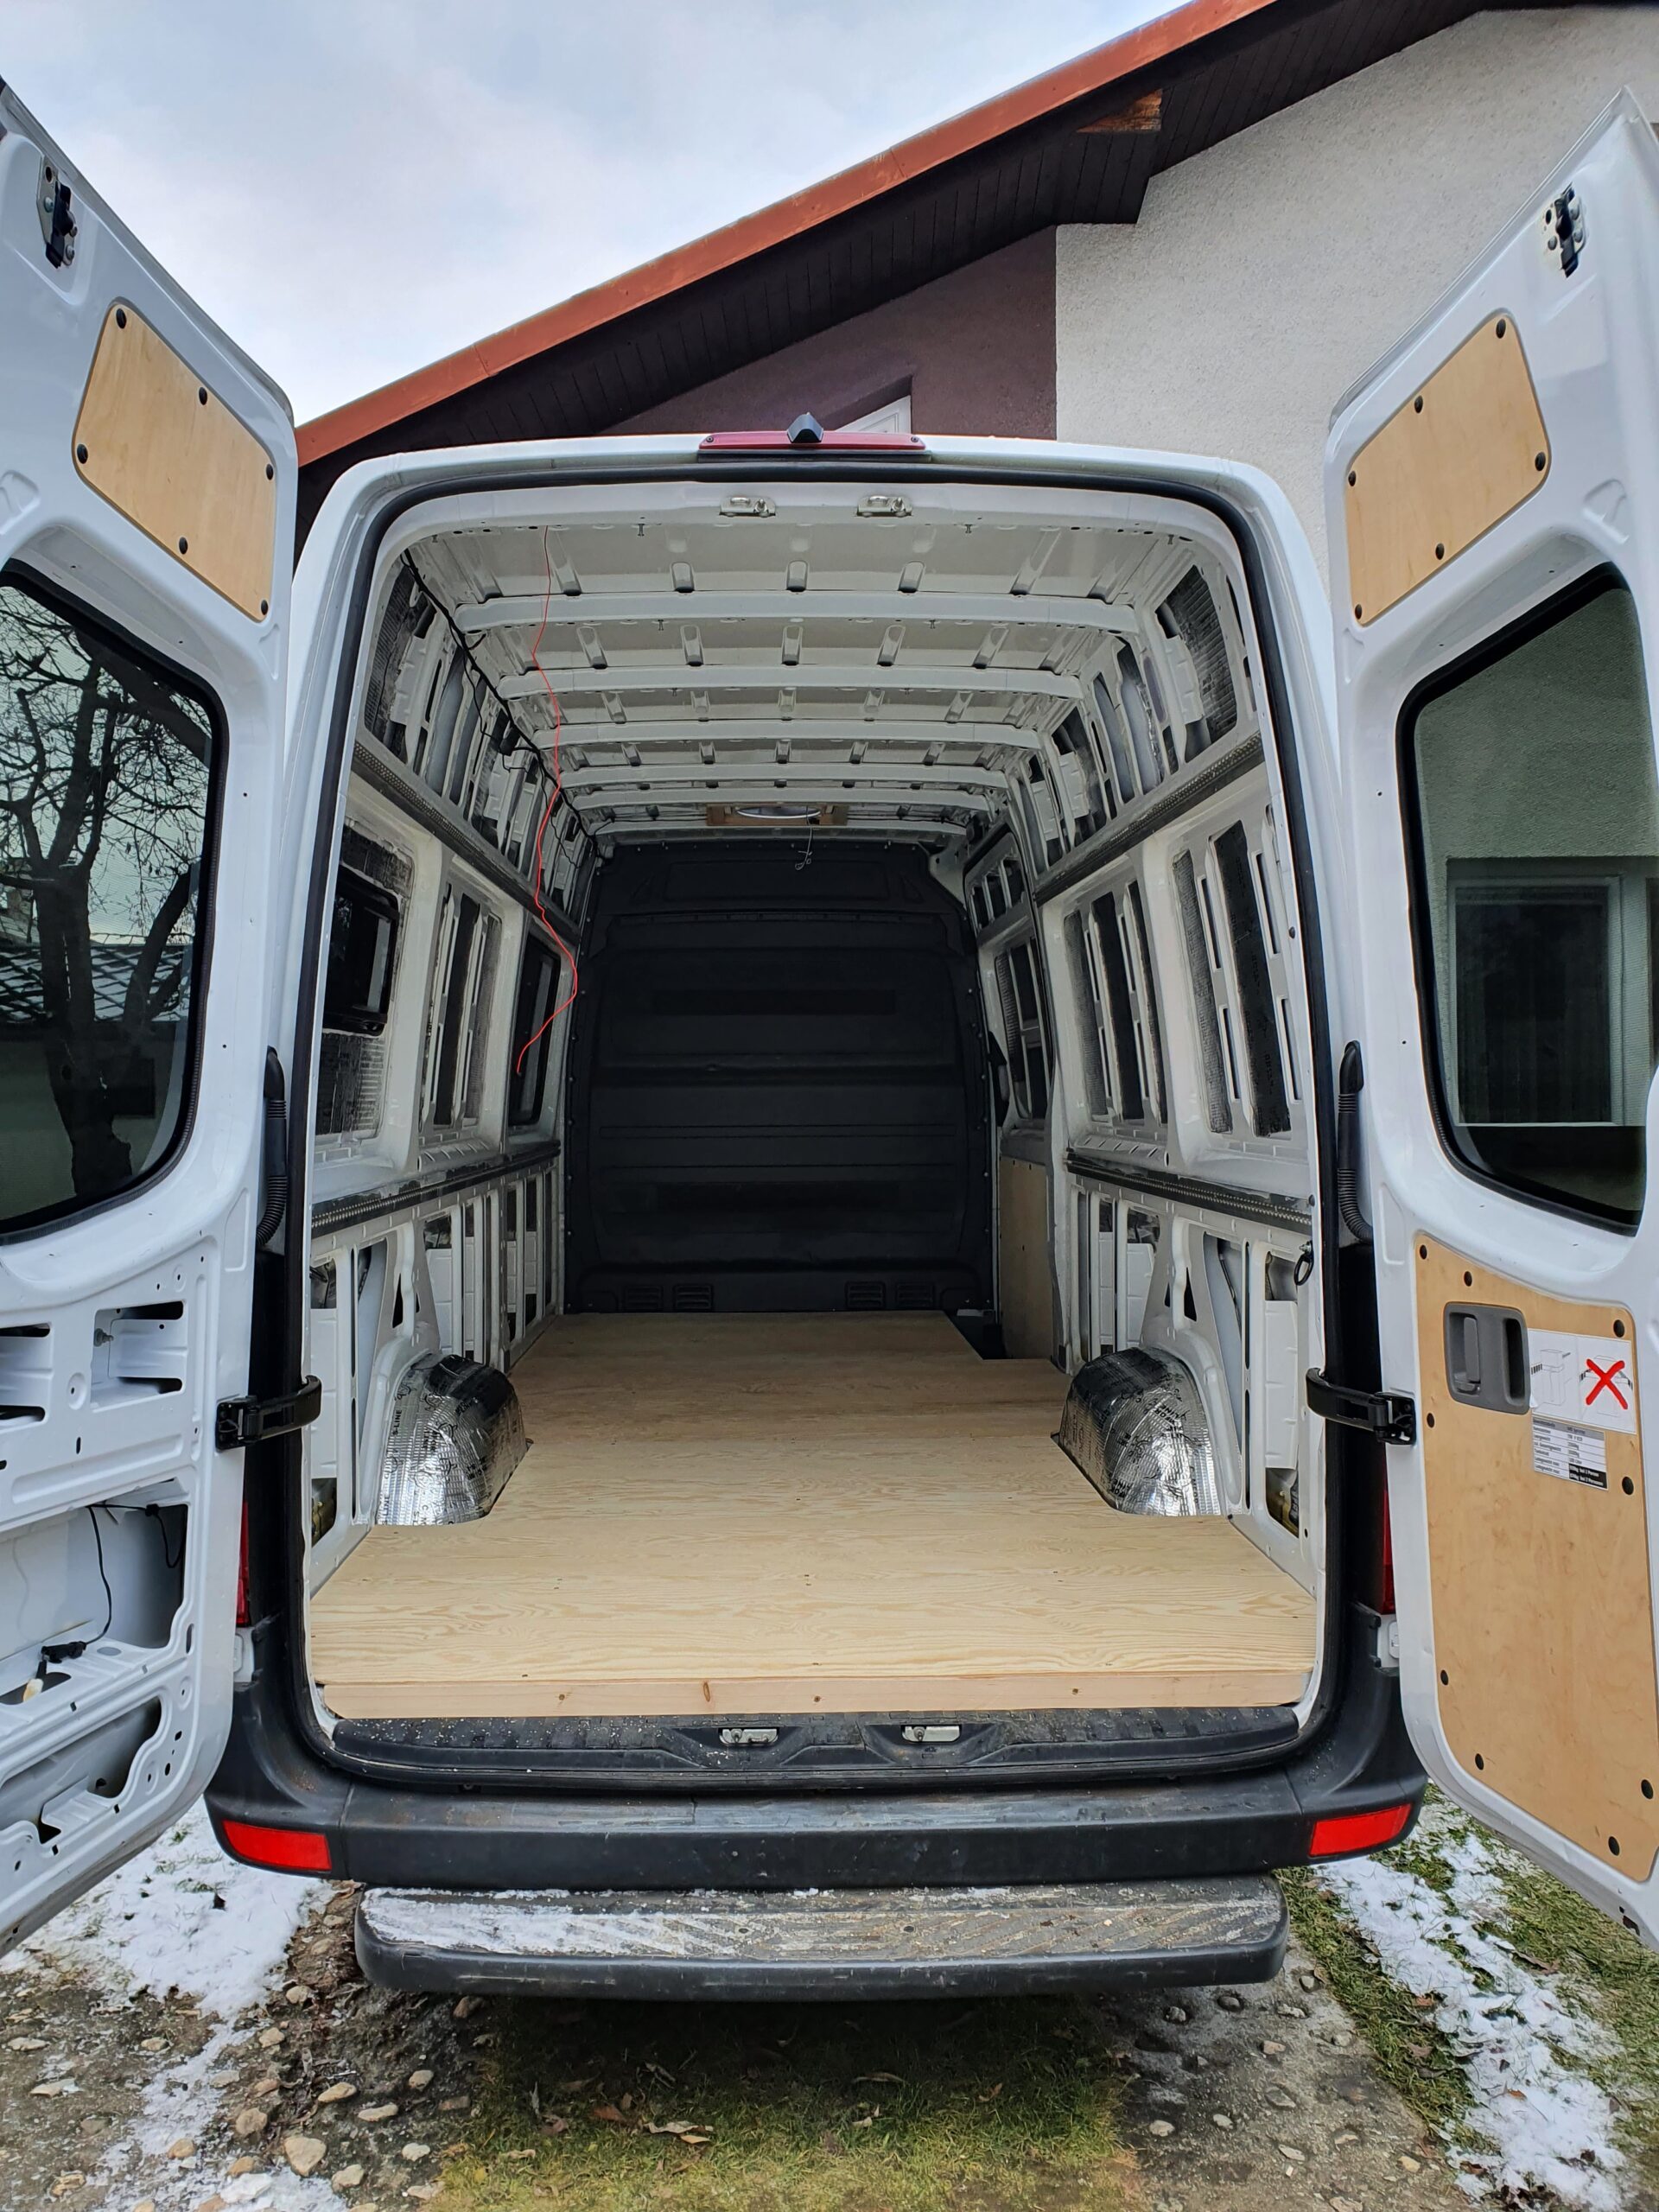
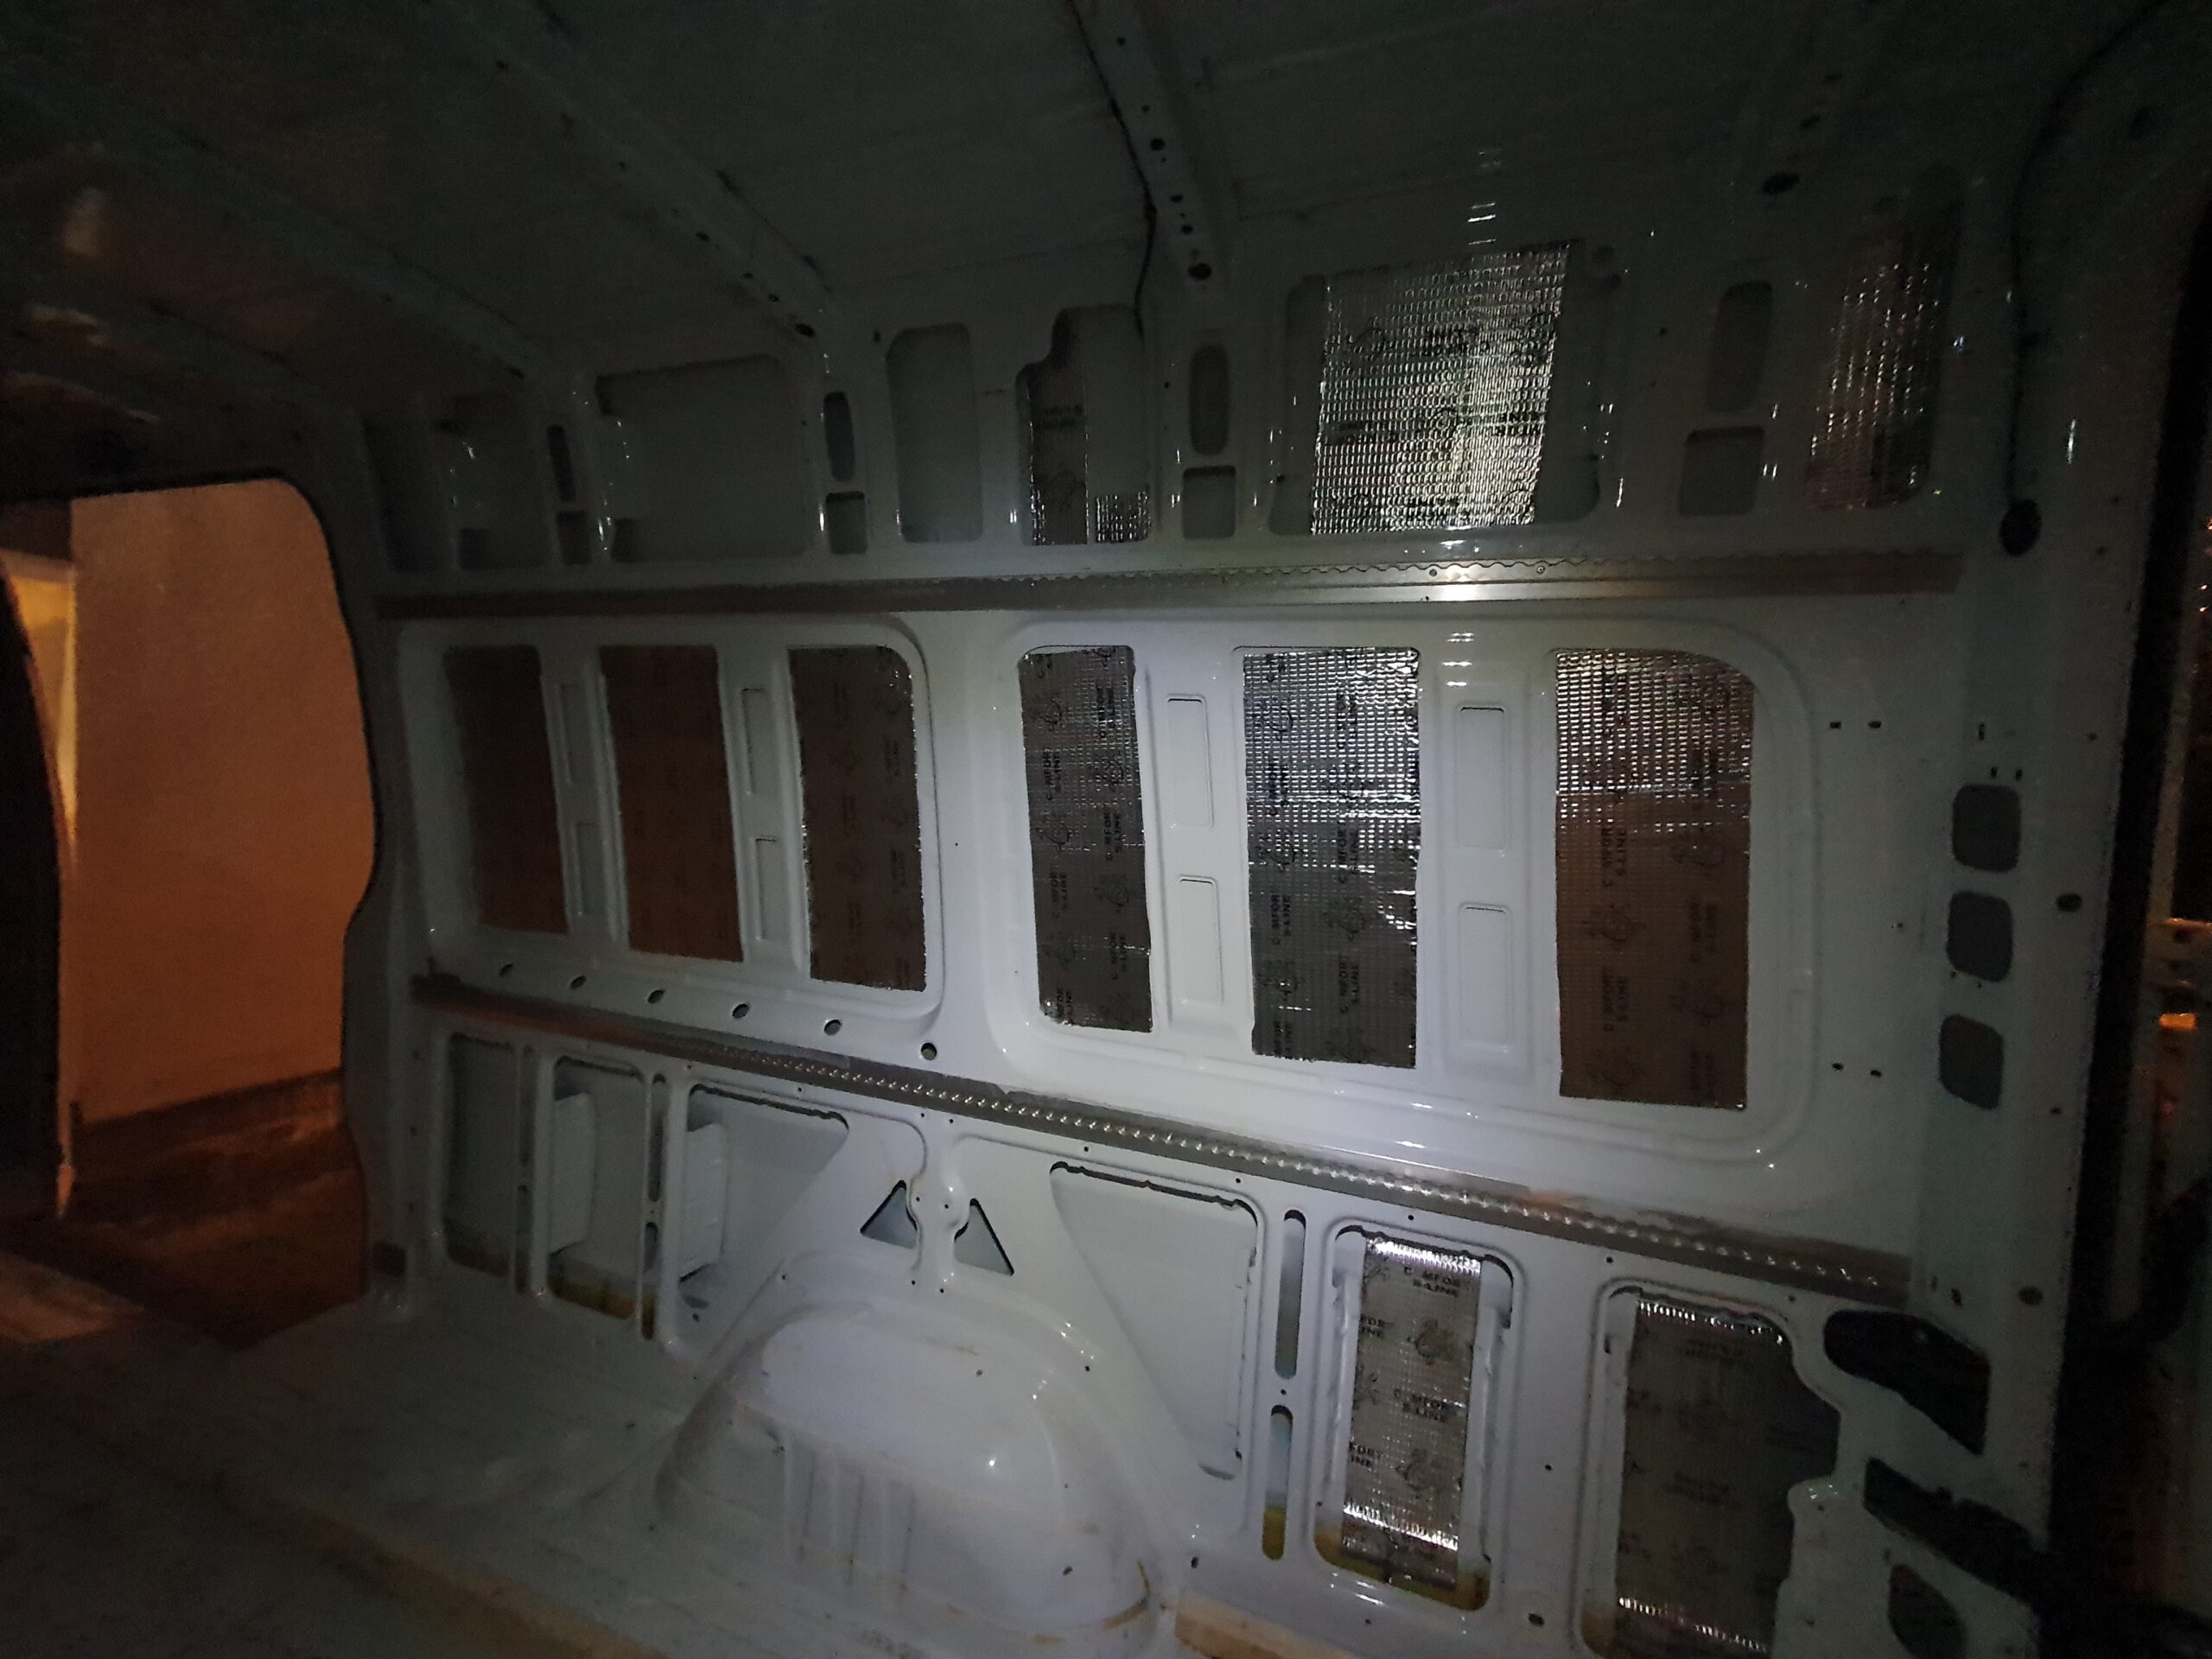
I also believe it’s crucial to apply an antivibration foil to your walls. This significantly reduces noise within the van. We placed it wherever possible, and now we can actually hold conversations inside the cabin. Just bear in mind that there’s more foil in the pictures than you actually need. Basicly square 20×30 cm schould be enought for one bay.
In my next post, I’ll discuss why we opted for an aluminum frame, highlighting the positives and negatives we’ve encountered.